May 2026 update
During May we have been busy working on long term improvements and modernization of the platform which we plan to release in the coming months. We have also released a number of smaller bugfixes and improvements.
During May we have been busy working on long term improvements and modernization of the platform which we plan to release in the coming months. We have also released a number of smaller bugfixes and improvements.
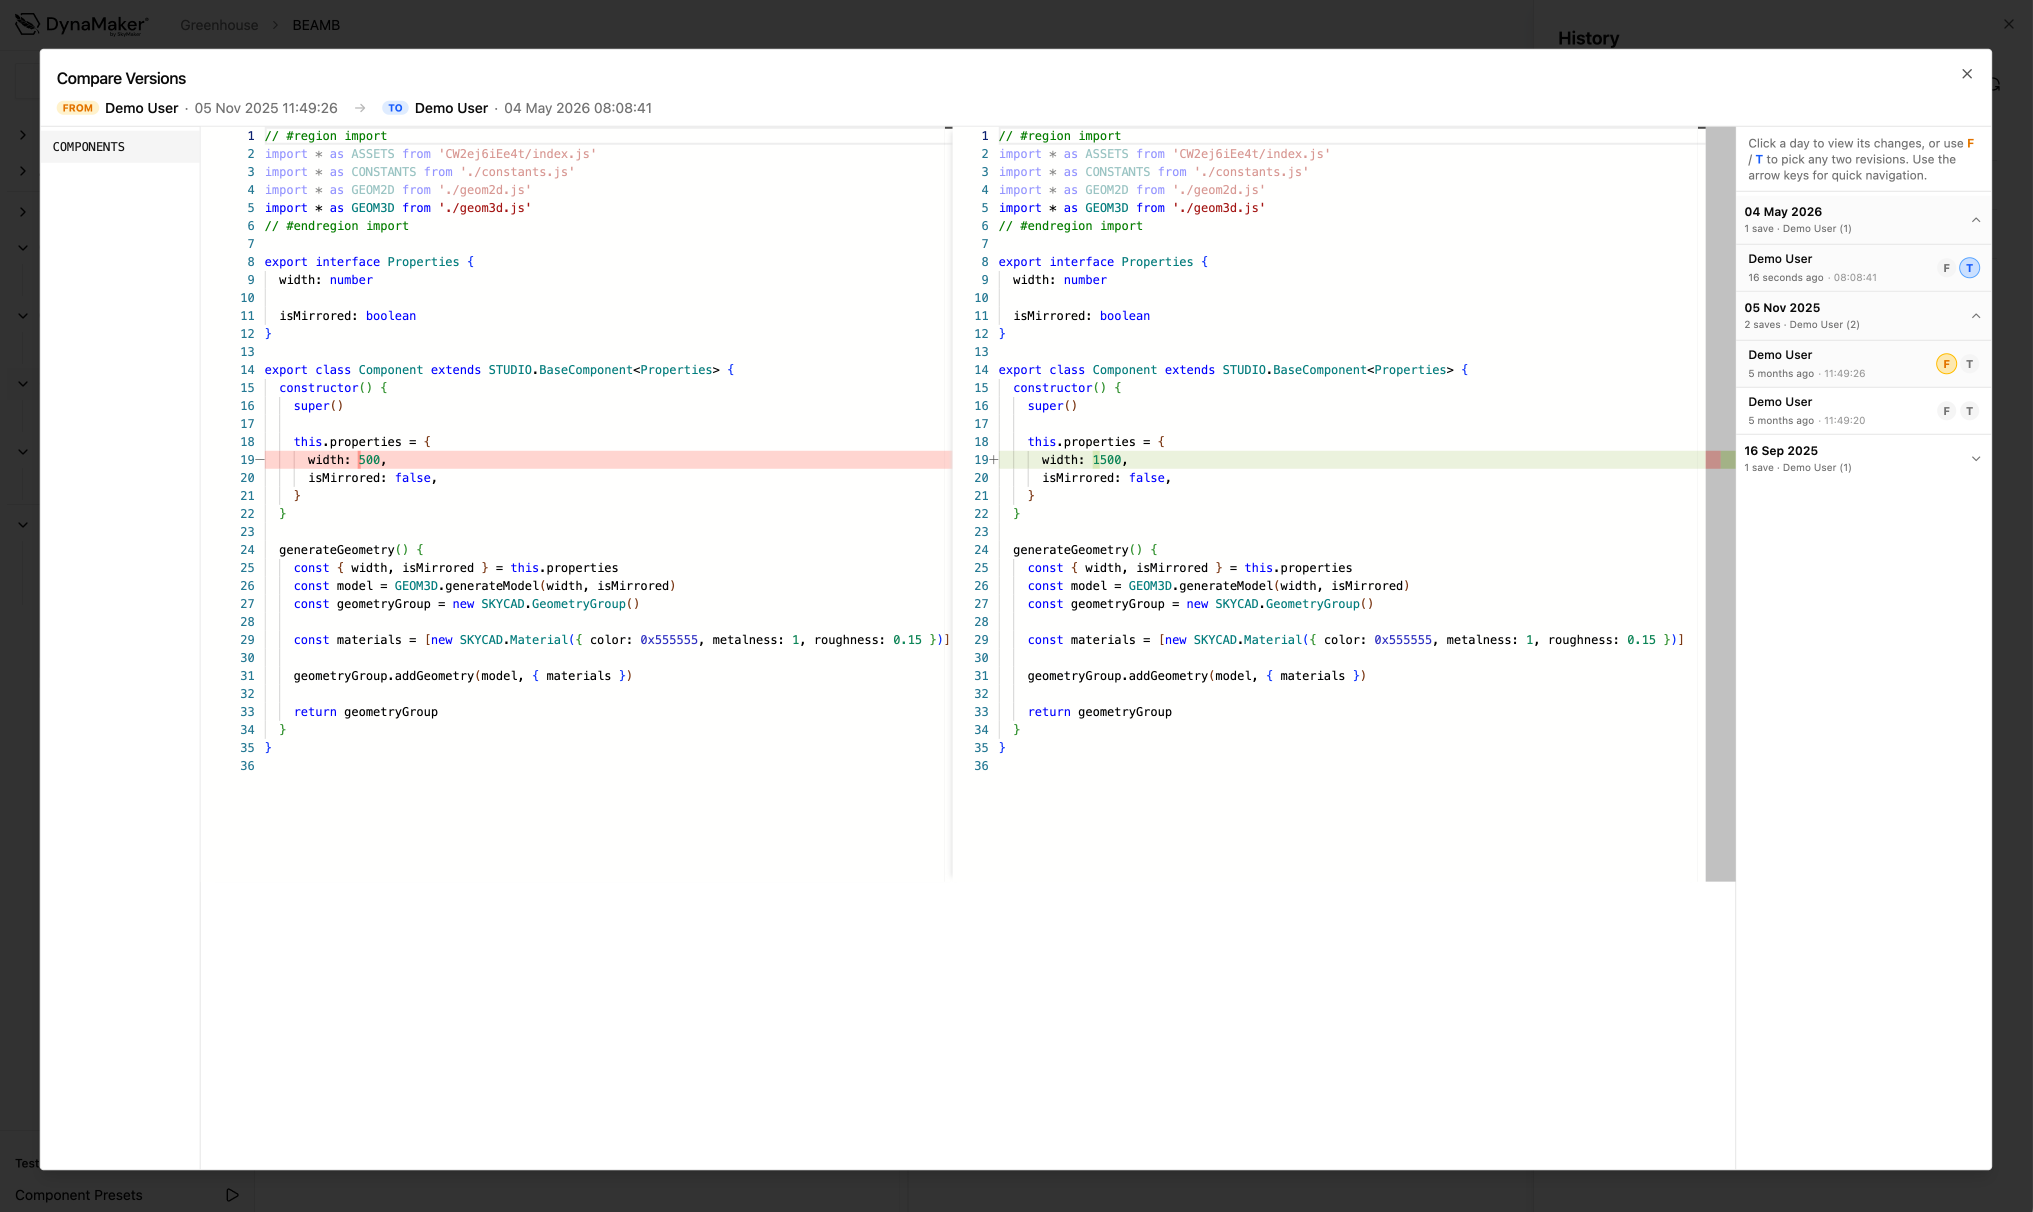
A new feature to compare versions of your code, as well as a notification center to keep you informed about upcoming events, in addition to various bug fixes and improvements.
ASSETS namespace is now automatically imported where it can be used.requestImage().This update introduces a new feature for previewing applications before publishing and support for uploading STEP files for visualization.
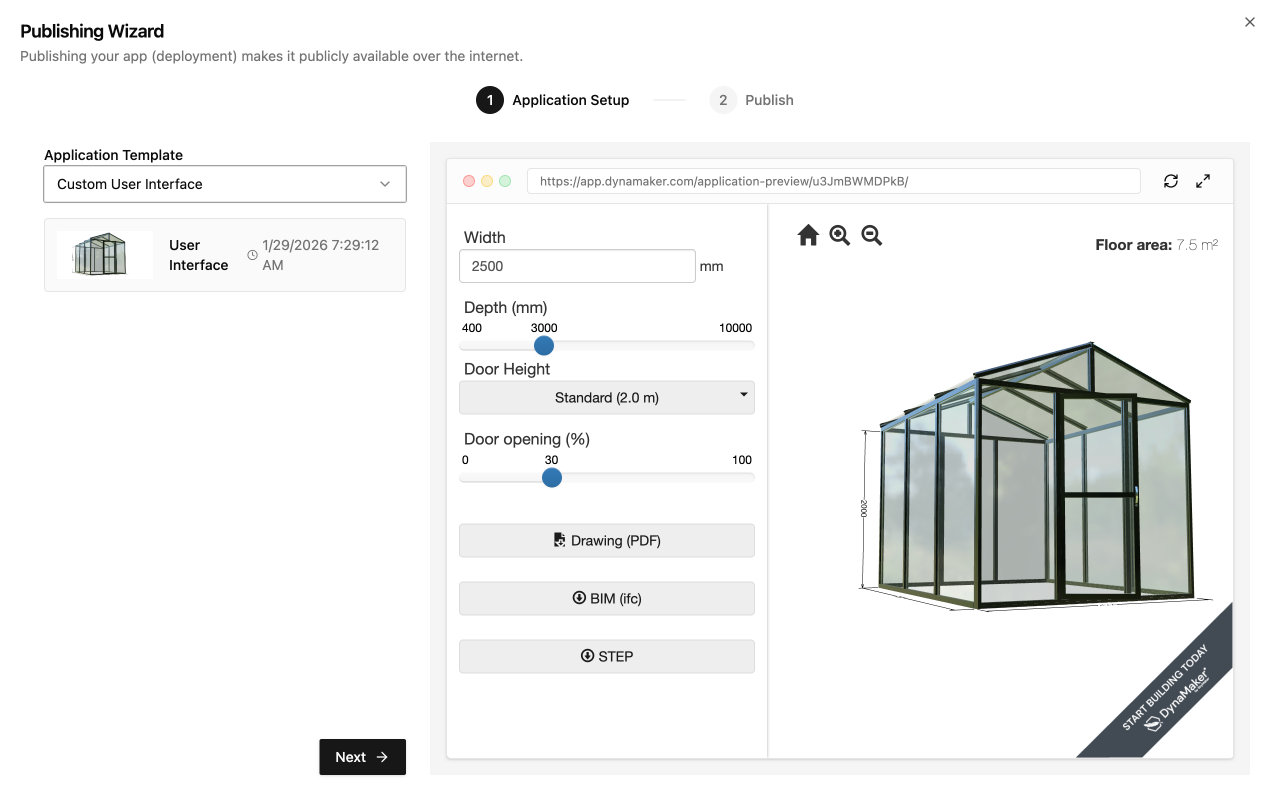
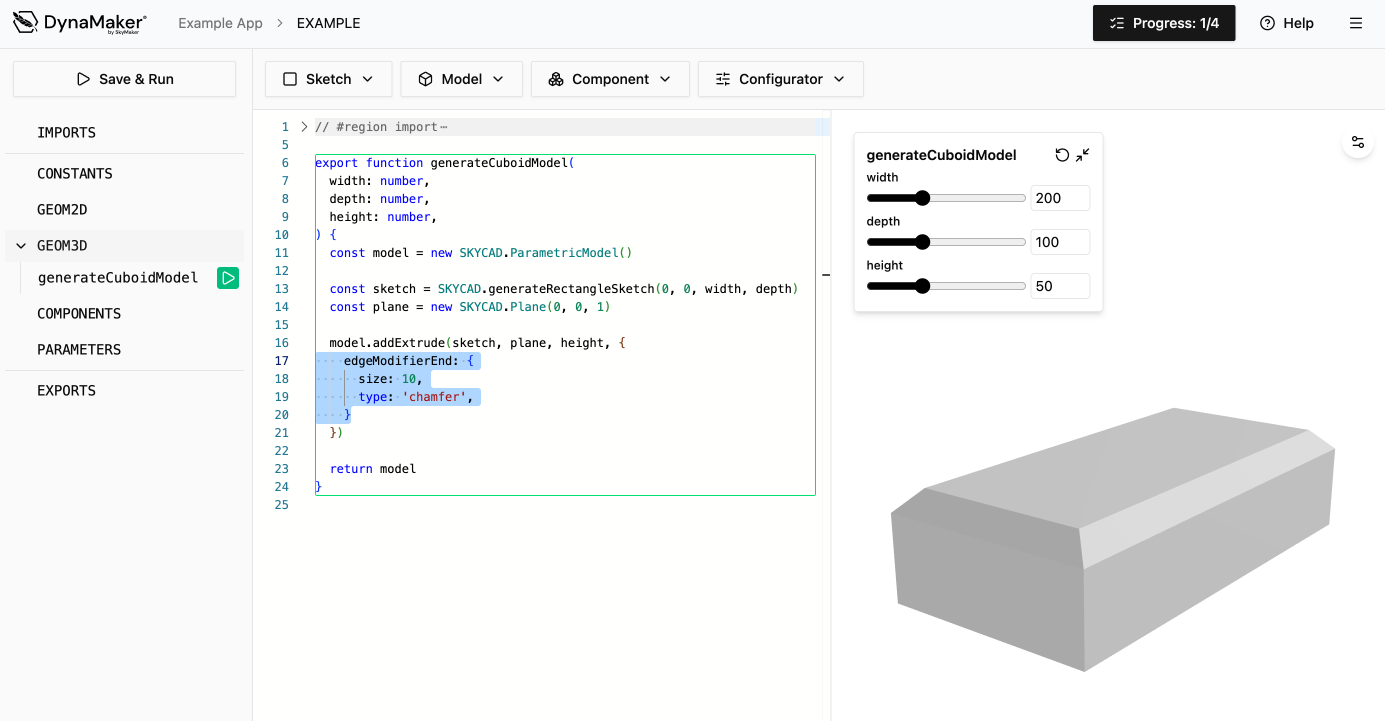
This update introduces chamfer geometry support and a new feature for publishing applications with an automatic UI.
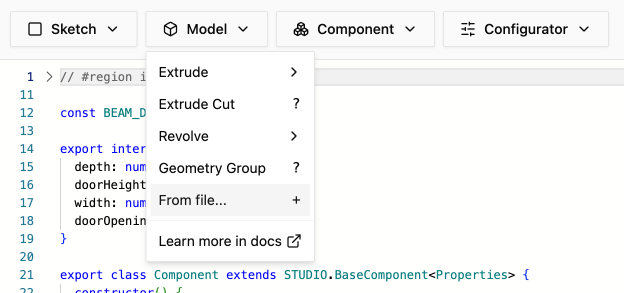
Create from file in the editor, view editor history, object input in preview, and other improvements.
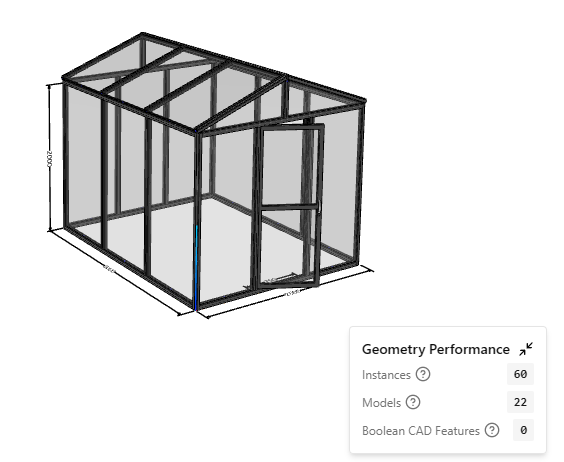
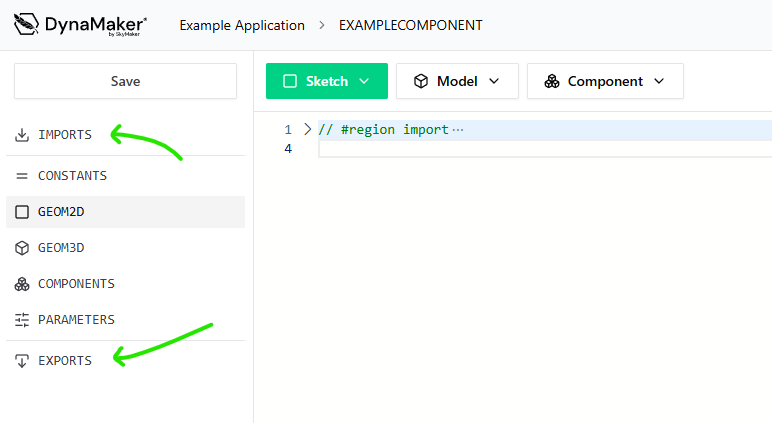
This update brings new tools for performance monitoring, easier configurator creation, and quality-of-life improvements to the editor workflow.
Features and improvements
Fixes
Features:
Improvements:
Bug fixes:
Docs: